
Chocolate. Cherries. Creamy cheesecake. And zero oven drama.
If that combo doesn’t make you pause mid-scroll, I don’t know what will. When I first made no bake black forest cheesecake, I wanted something impressive without babysitting an oven. I wanted rich, chocolatey indulgence with that classic cherry kick—minus the stress. And honestly? This dessert delivers every single time.
Have you ever craved Black Forest cake but didn’t feel like stacking sponge layers and dealing with whipped cream anxiety? Yeah, same. That’s exactly why this no bake version became my go-to.
Let’s talk about how to make it, why it works, and how to absolutely nail it on the first try.
Why You’ll Love No Bake Black Forest Cheesecake
You don’t need fancy skills. You don’t need special equipment. You just need a fridge and a little patience.
Here’s why this dessert wins:
- No oven required (your kitchen stays cool)
- Deep chocolate flavor without baking
- Creamy, silky texture
- Classic Black Forest flavors—cherry + chocolate = magic
- Make-ahead friendly
I love desserts that look bakery-level but secretly require minimal effort. This one feels dramatic, but it’s shockingly simple. Ever made something that makes people think you worked all day? This is that dessert.
What Makes It “Black Forest”?
The Classic Inspiration
Traditional Black Forest cake comes from Germany and features chocolate sponge cake, whipped cream, cherries, and sometimes a splash of kirsch.
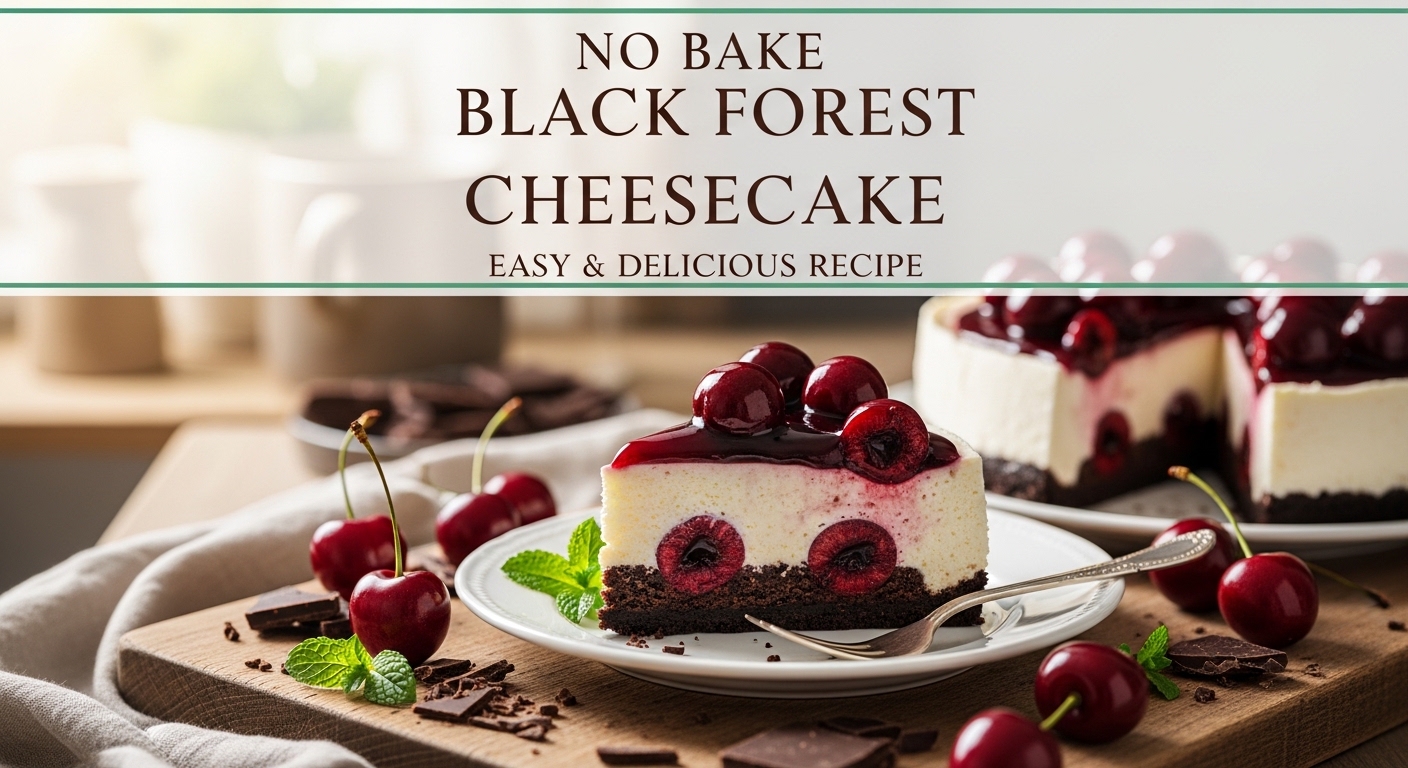
This no bake black forest cheesecake keeps the soul of that cake but upgrades the texture. Instead of sponge layers, you get:
- A chocolate cookie crust
- A rich chocolate cheesecake filling
- A cherry topping
- Whipped cream and chocolate shavings
IMO, the cheesecake version tastes even more indulgent. You get that creamy depth that sponge cake just can’t deliver.
Ingredients You’ll Need
Let’s keep this simple and realistic.
For the Chocolate Crust
- Chocolate sandwich cookies (like Oreos)
- Melted butter
That’s it. You crush, mix, press, and chill. Easy.
For the No Bake Chocolate Cheesecake Filling
- Cream cheese (room temperature)
- Powdered sugar
- Melted dark or semi-sweet chocolate
- Cocoa powder
- Vanilla extract
- Heavy whipping cream
For the Cherry Topping
- Cherry pie filling (easy and reliable)
- Or homemade cherry compote if you feel fancy
And don’t forget:
- Whipped cream for topping
- Chocolate curls or shavings
Simple ingredients. Big payoff.
How to Make No Bake Black Forest Cheesecake
Let me walk you through this like we’re in the kitchen together.
Step 1: Make the Crust
Crush your chocolate cookies into fine crumbs. I use a food processor, but a zip-top bag and rolling pin work too.
Mix the crumbs with melted butter until everything looks like wet sand. Press the mixture firmly into the bottom of a springform pan.
Chill it for at least 30 minutes. Why? Because a firm crust equals clean slices later. Nobody wants crumb chaos.
Step 2: Prepare the Chocolate Cheesecake Filling
Beat the cream cheese until smooth. Don’t rush this. Lumps ruin the vibe.
Add powdered sugar, cocoa powder, and vanilla. Mix until creamy.
Now pour in the melted chocolate. Make sure it cools slightly before adding it. Hot chocolate + cold cream cheese = weird texture. We don’t want that.
In a separate bowl, whip the heavy cream until stiff peaks form. Fold it gently into the chocolate mixture.
You’ll see it transform into a fluffy, mousse-like filling. This part makes me ridiculously happy every time.
Step 3: Assemble and Chill
Spread the filling over the chilled crust. Smooth the top.
Cover and refrigerate for at least 6 hours. Overnight works best.
Ever tried slicing cheesecake too early? Yeah… regret happens fast. Let it chill properly.
Step 4: Add the Cherry Topping
Once the cheesecake sets, spoon cherry pie filling on top.
Don’t dump it all in one spot. Spread it gently so it looks even and glossy.
Finish with whipped cream swirls and chocolate shavings.
And just like that, you’ve created a no bake black forest cheesecake masterpiece.
Pro Tips for Perfect Texture
Want to guarantee success? Keep these in mind:
- Use full-fat cream cheese. Low-fat versions create a softer set.
- Whip the cream properly. Soft peaks won’t hold structure.
- Chill long enough. Minimum 6 hours, no shortcuts.
- Use a springform pan. It makes removal effortless.
Ever wondered why some no bake cheesecakes feel loose? People rush the chill time or under-whip the cream. Patience fixes everything.
Homemade Cherry Compote Option
If you want to level it up, make your own cherry topping.
Simple Cherry Compote
Cook these together:
- Fresh or frozen cherries
- Sugar
- Lemon juice
- Cornstarch slurry
Simmer until thick and glossy. Cool completely before adding to the cheesecake.
Homemade compote gives a fresher taste. Store-bought works beautifully too. Choose your level of effort. No judgment here 🙂
Flavor Variations to Try
You can tweak this no bake black forest cheesecake in fun ways.
Dark Chocolate Lovers
Use 70% dark chocolate for a deeper, slightly bitter edge.
Boozy Version
Add 1–2 tablespoons of kirsch to the filling or cherry layer.
Mini Cheesecakes
Make individual portions in muffin tins. They look adorable and feel fancy.
Extra Chocolate Layer
Add a thin chocolate ganache layer between filling and cherries.
You see how flexible this recipe is? You control the drama.
Storage & Make-Ahead Tips
This cheesecake stores beautifully.
- Keep refrigerated for up to 4 days.
- Store in an airtight container.
- Freeze slices individually for up to 2 months.
I wrap slices tightly and freeze them for emergency dessert situations. Because let’s be honest—emergencies happen.
When ready to eat, thaw in the fridge overnight.
Common Mistakes to Avoid
Let’s save you from disappointment.
1. Using Cold Cream Cheese
Cold cream cheese creates lumps. Always soften it first.
2. Overmixing After Adding Whipped Cream
Fold gently. Aggressive mixing knocks out air.
3. Skipping Chill Time
This cheesecake needs structure. Respect the fridge.
4. Too Much Cherry Liquid
Drain excess syrup if your topping looks overly runny. You want thick and glossy, not soup.
Small details make a big difference.
Why No Bake Black Forest Cheesecake Beats the Classic Cake
Let me say something controversial: I prefer this over traditional Black Forest cake.
Here’s why:
- Cheesecake feels richer.
- Texture stays creamy for days.
- No risk of dry sponge.
- Easier to assemble.
- Better make-ahead dessert.
Classic cake tastes amazing, but it requires more steps and precision. This cheesecake version gives you that iconic chocolate-cherry combo with way less effort.
And honestly, who complains about cheesecake?
Serving Ideas That Impress
Want to make it look extra special?
- Add chocolate curls using a vegetable peeler.
- Dust lightly with cocoa powder.
- Garnish with fresh cherries.
- Pipe tall whipped cream swirls for height.
Presentation matters. People eat with their eyes first.
When I bring this to gatherings, people always ask, “Did you bake this?” I smile and say, “Nope.” That reaction alone makes it worth it.
Is No Bake Black Forest Cheesecake Beginner-Friendly?
Absolutely.
If you can mix, whip, and chill, you can make this dessert.
You don’t deal with cracked tops. You don’t deal with water baths. You don’t worry about oven temperatures.
This recipe removes all the usual cheesecake stress.
FYI, this makes it perfect for holidays, birthdays, or last-minute dinner parties.
Nutrition & Indulgence (Let’s Be Honest)
This dessert sits firmly in the indulgent category.
It contains:
- Cream cheese
- Heavy cream
- Chocolate
- Sugar
But you don’t eat cheesecake daily. You enjoy it occasionally and savor every bite.
Balance matters. Dessert happiness matters too.
Final Thoughts on No Bake Black Forest Cheesecake
So here we are.
You now have everything you need to make an unforgettable no bake black forest cheesecake that tastes rich, looks impressive, and doesn’t require turning on your oven.
You get:
- A crunchy chocolate crust
- A creamy chocolate cheesecake layer
- A glossy cherry topping
- Light whipped cream finish
You keep it simple. You chill patiently. You serve confidently.
And when someone takes that first bite and goes quiet for a second? That’s the moment you know you nailed it.
So tell me—are you making this for a special occasion, or are you just treating yourself because you deserve it? Either way, I fully support that decision. 😉